Step-by-Step Guide
Open the Launch Creator
Navigate to the Launches page from the left sidebar. Click the “New Launch” button in the top-right corner. This opens the launch creation modal.
Choose Your Launch Type
You will see three launch type options:
- Music Launch — For singles, EPs, albums, features, or any audio release
- Tour Launch — For tours, individual shows, or festival appearances
- Merch Launch — For clothing drops, vinyl releases, bundles, or any physical/digital product
Select Your Asset
After choosing a type, you will see a searchable list of your assets:
- Music launches show your releases from connected DSPs (Spotify, Apple Music, etc.)
- Tour launches show your events and tour dates
- Merch launches show your products from connected stores (Shopify, etc.)
If you do not see your asset listed, make sure it has been added to Fanaura via the appropriate integration (Music Assets, Tours, or Merch pages).
Add More Assets (Optional)
Want to run a multi-asset campaign? Click “Add Another Asset” to bundle additional items into this launch. For example:
- A new album plus the supporting tour dates
- A single plus exclusive merch tied to the release
- A full campaign with music, tour, and merch all in one
Set Key Dates
Dates help Fanaura calculate your launch progress and schedule stage transitions. The date fields change based on your launch type:
- Music Launch
- Tour Launch
- Merch Launch
- Announcement Date — When you plan to announce the release publicly
- Presave Date — When the presave link goes live
- Release Date — The official release day
Name Your Launch
Give your launch a descriptive name. This is what you will see on launch cards and in dropdown menus throughout Fanaura.Good examples:
- “Midnight Drive Single — June 2026”
- “North American Summer Tour 2026”
- “Limited Edition Vinyl Drop”
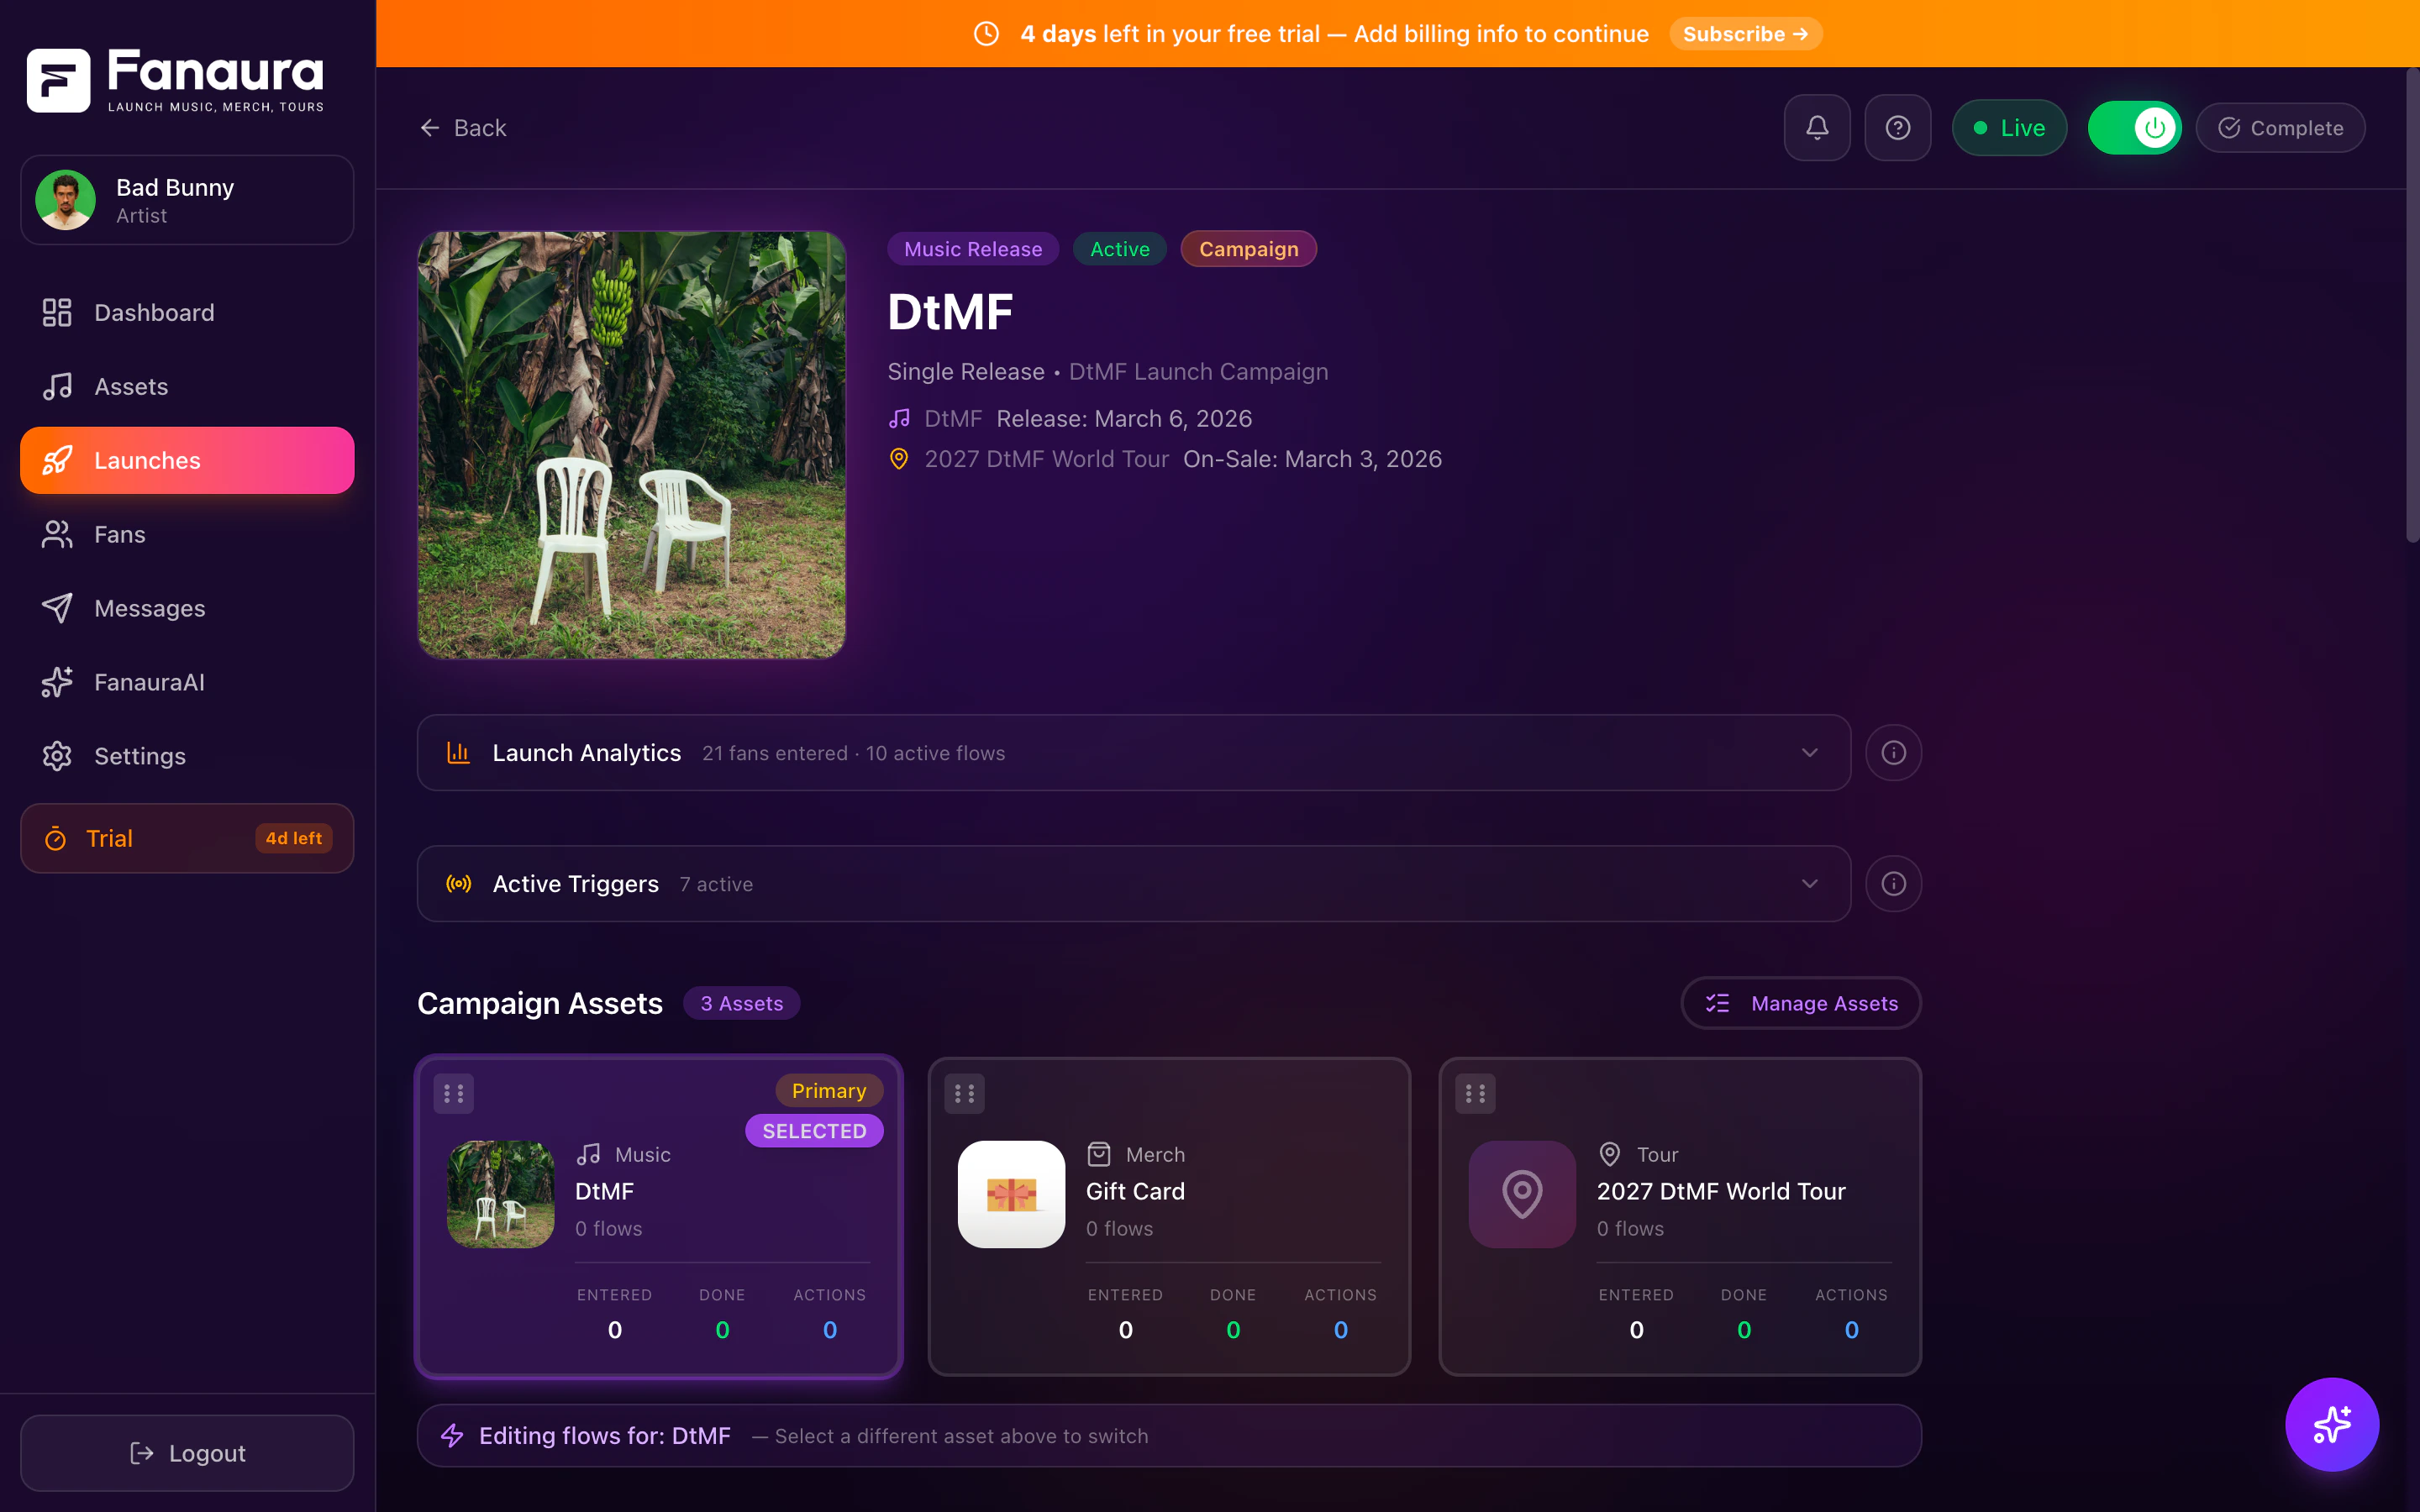
What You See After Creation
Your new launch detail page includes:- Launch header: Title, type badge, progress bar, and key dates
- Cycle stages: Sections for each stage (e.g., Pre-Release, Release, Post-Release) with an “Add Flow” button in each
- Asset panel: Your selected asset(s) with artwork and metadata
- Stats: Fan counts and flow activity (will populate once flows are active)
Managing Your Launch
Renaming a Launch
Renaming a Launch
Click the three-dot menu (top-right of the launch header) and select “Rename”. Type the new name and confirm.
Editing Dates
Editing Dates
Click any date field in the launch header to update it. Changes take effect immediately and recalculate your progress bar.
Deleting a Launch
Deleting a Launch
Click the three-dot menu and select “Delete”. This is a soft delete — your launch moves to the Deleted tab on the Launches page where it stays for 30 days. During that window, you can restore it with all its flows intact.After 30 days, the launch and all associated flows are permanently removed.
Quick Automations
Not every automation needs a full launch. For standalone flows — like a welcome sequence for new fans or an always-on keyword responder — use Quick Automations. Find them under the Automations tab on the Launches page. Quick Automations work exactly like launch flows but without cycle stages or assets. They are always-on and not tied to any specific release.Quick Automations are perfect for evergreen campaigns that run year-round, such as welcome sequences, birthday messages, or always-on keyword responders.
Tips and Best Practices
- Use multi-asset campaigns for coordinated releases (album + tour + merch)
- Set dates as soon as you know them: Progress tracking and date-based triggers depend on accurate dates
- Draft mode is your friend: Build everything in draft, test with a small group, then go active when you are confident
- Name with dates: Including the month or year in your launch name makes it easy to find later