The onboarding flow shows progress at the top of the screen so you always know which step you are on.
Step-by-step guide to onboarding with Fanaura
1. Start the onboarding process

- Begin by entering your first and last name or your Spotify stage name.
- Select the correct artist account and click Continue.
2. Enter personal information
- Input your first and last name.
- Provide a personal email address that you will use to log in.
3. Set up your account security
- Enter your cell phone number.
- Create a password that meets the following criteria:
- At least 8 characters long
- Contains an uppercase letter
- Contains a lowercase letter
- Includes a number
- Has a special character
4. Agree to terms and create account
- Read and agree to the Terms of Service and Privacy Policy.
- Click Create Account.
5. Verify your email
- Check your email for a 6-digit verification code sent by Fanaura.
- Enter the code on the verification screen to continue.
6. Verify your Spotify profile ownership
- After email verification, you will need to verify ownership of your Spotify profile.
- This step helps prevent fraud and keep signups high quality.
7. Send verification code via Instagram
- Copy the verification code shown on screen.
- Open Instagram and send a DM to @fanaura.ai with the code from an approved Instagram account (the artist’s official account).
Fanaura may show the expected Instagram handle and a button to open the DM conversation. The code typically expires in 30 minutes; generate a new one if needed.
8. Auto-verification
- Once you send the DM, your account can auto-verify.
- Note: Artists with fewer than 100,000 followers on Spotify may not need to complete this Instagram verification step (the product will indicate what applies to you).
9. Complete onboarding
- After verification, you are set to use Fanaura.
10. Access your dashboard
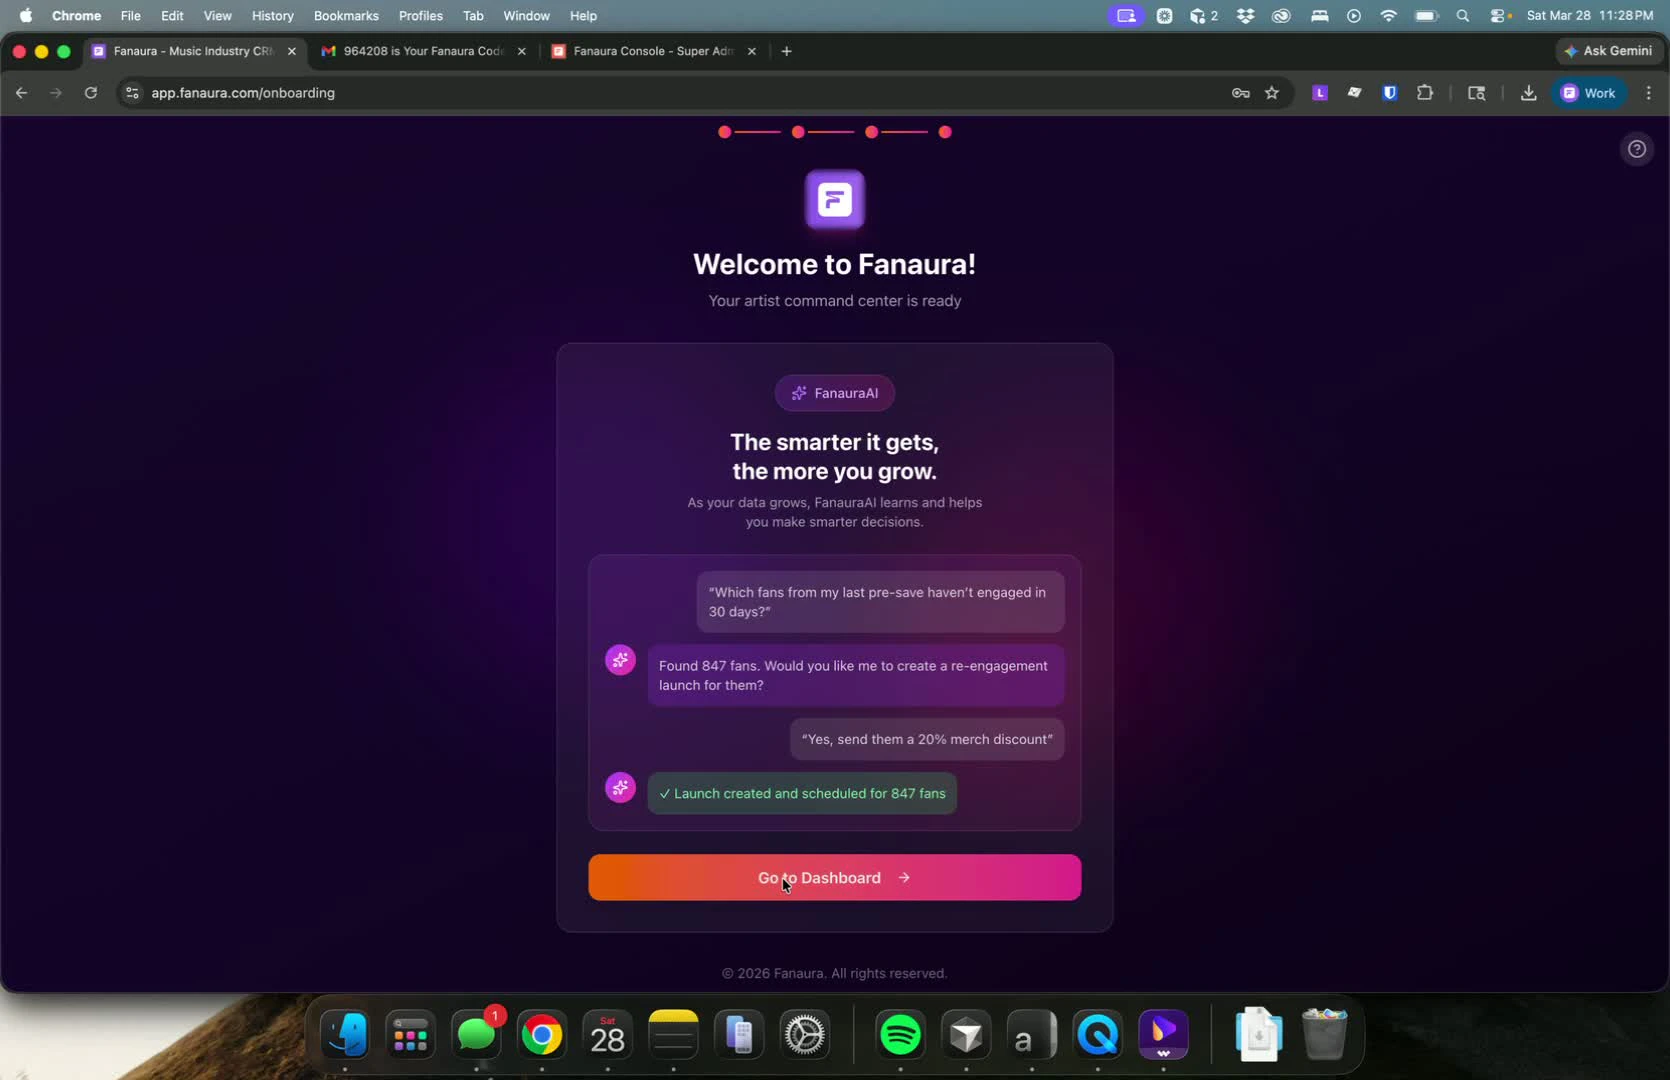
- Go to your dashboard to start launching music, merchandise, and tours.
Team member onboarding
If you were invited to an artist team, your steps can include entering your own details, creating the artist’s login, verifying their email, connecting Spotify, then the welcome tour. The screens match the same overall flow above; your progress indicator may include extra steps.Behind the scenes (quick reference)
When your artist account is created, Fanaura typically:- Creates your artist slug for smart links
- Sets up your branded sending email (for example
yourartist@mail.fanaura.com) - Enables wrapper defaults so smart links can collect fan data
- Sends notifications if manual review is required for verification
Troubleshooting
Not authenticated — please try again
Not authenticated — please try again
Your session expired during onboarding. Return to signup and sign in again.
I am sent back to signup
I am sent back to signup
Your email may not be verified yet. Complete step 5 (email code) first.
I am sent straight to the app / assets
I am sent straight to the app / assets
You may have already finished onboarding. Log in and continue from the dashboard.
Instagram verification fails or never completes
Instagram verification fails or never completes
Send the DM from the artist’s official Instagram account to @fanaura.ai. Copy the code exactly. Generate a new code if it expired.
Spotify search shows no results
Spotify search shows no results
Try a shorter search term or check spelling. If the artist is not on Spotify yet, use manual artist entry if the flow offers it, or contact support.
Next steps
First presave campaign
Start collecting fan data with a presave.
Navigation
Learn your way around the dashboard.
Invite your team
Add your manager, label, or marketing team.